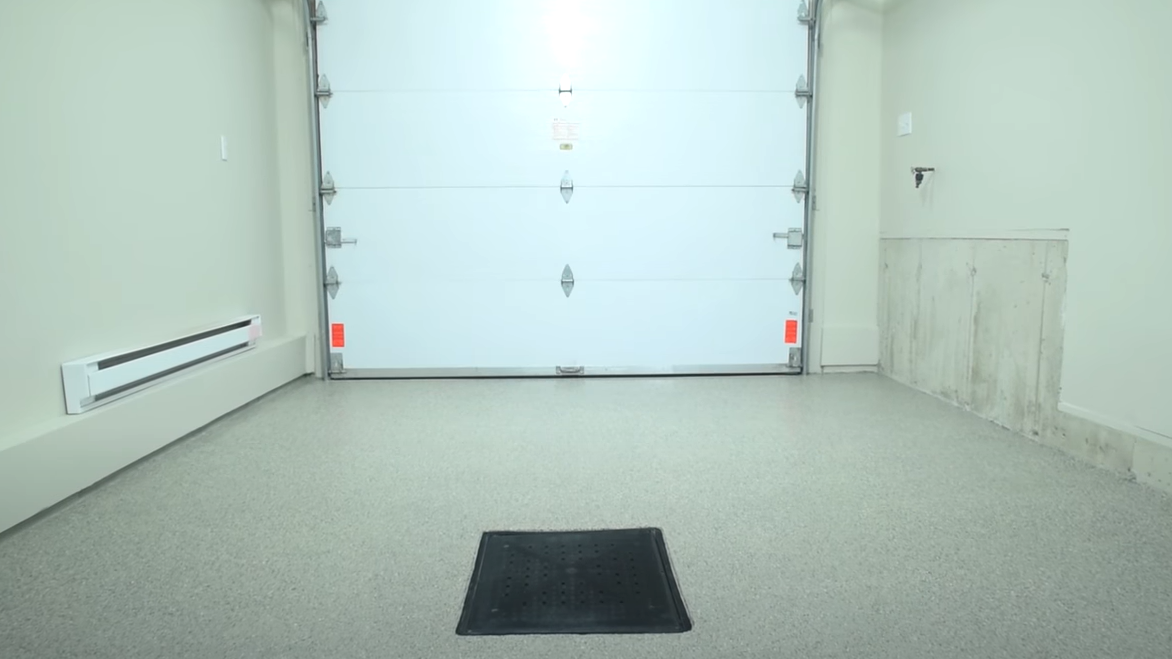
Epoxy Flake Garage Floor – A Step by Step Guide
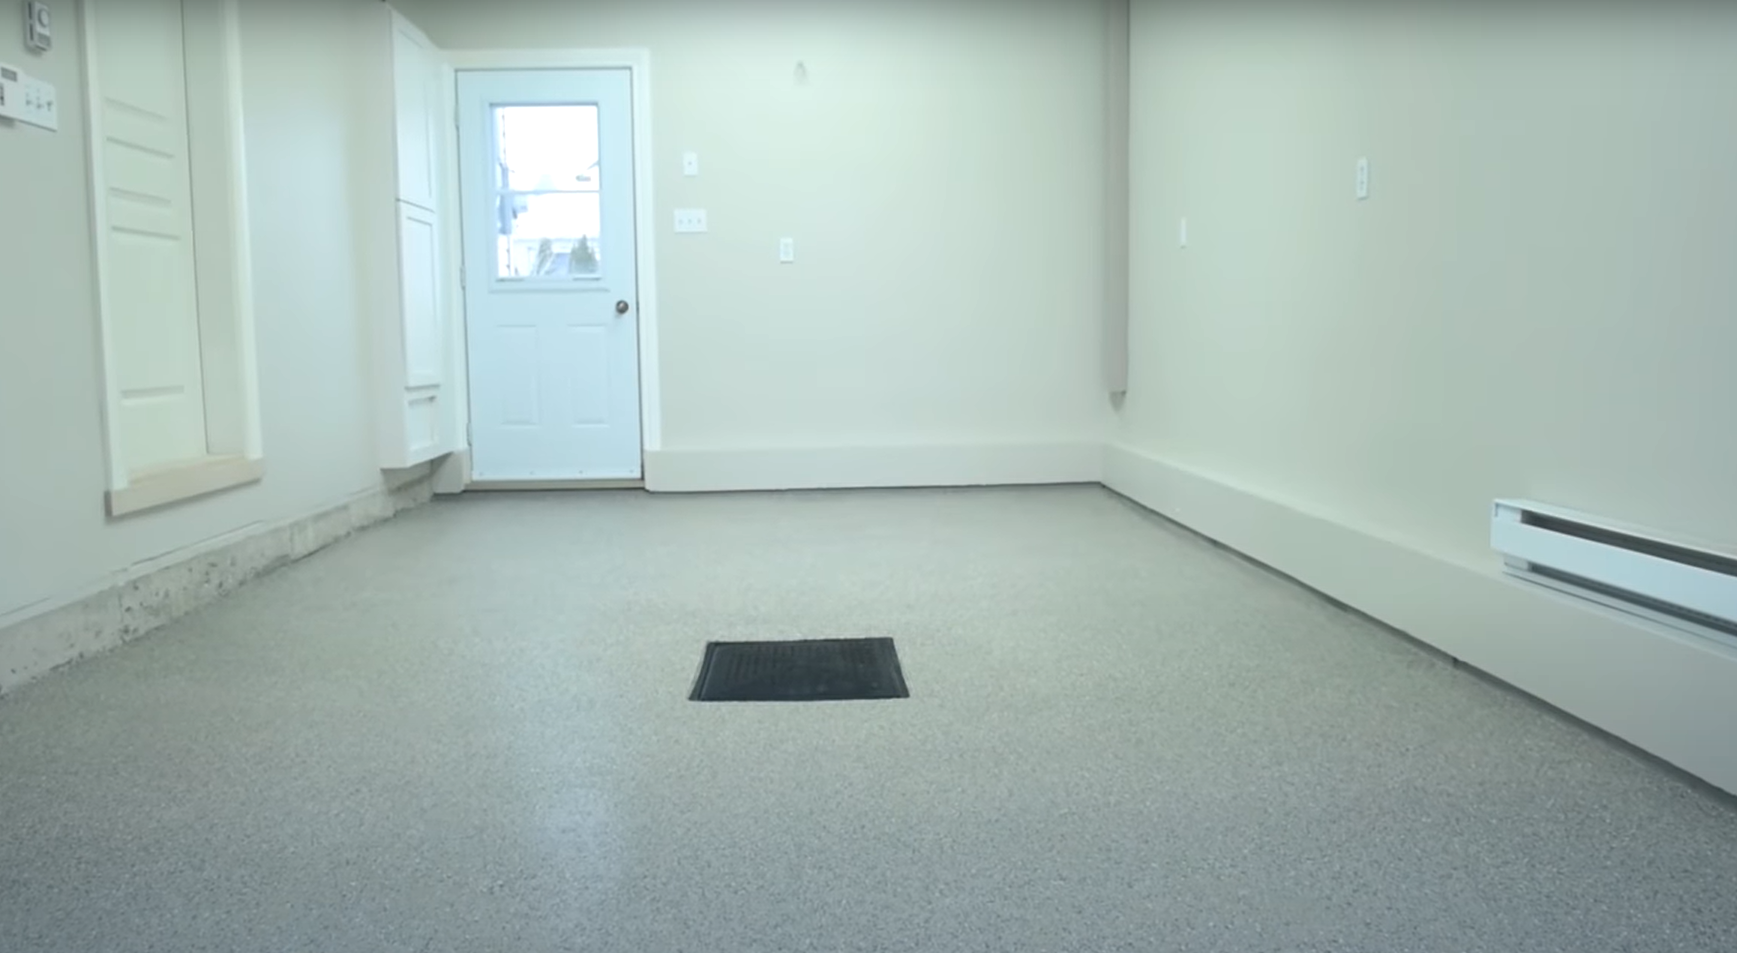
Passeport ELITE 100% Solids Epoxy flooring is a type of industrial coating that has no solvents that will evaporate into the air when you apply it. This means that 100% of the product will stay on your floor. These industrial coatings have been used by professionals for many years. Latest technology has allowed consumers to get the same high-quality product but it is more user friendly and much easier to apply.
BENEFITS
- It’s very durable and it will resist peeling and is practically odourless
- You can use it anywhere in your home, on a concrete floor, basement or garage plus a variety of wood surfaces
- It’s a very smooth high gloss finish easy to apply and very washable
- Passeport ELITE products have been approved the Canadian Food Inspection Agency to be used anywhere in their food processing plants
OPTIONS
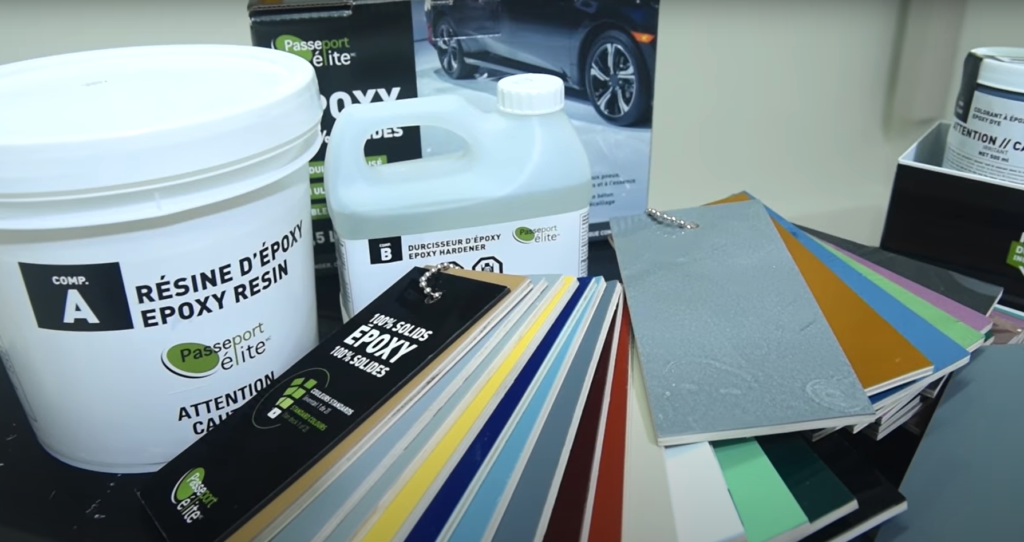
- Solid colour high gloss coating that is easily washable
- You can add silica sand for an anti-slip coating to avoid slips and slides
- Metallic finish one of a kind unique design that will enhance any floor space
- You can use flakes sparingly or heavily all depending on the look you want and your budget
*NOTE: For this example, we will be showing you how to do a full broadcast epoxy flake floor.
INSPECTION CHECK
- Make sure your concrete has been poured at least 30 days ahead of time and it’s fully cured.
- If you have an existing floor where the concrete has been there for years it’s important to check for moisture.
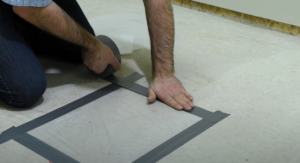
- A simple moisture test you can do is to tape a 16″ x 16” piece of plastic to the floor and leave it for 24 hours. Come back and lift it off and check for water droplets. If there’s moisture present do not proceed without using the proper primer product to ensure the right bond.
PREPARATION
- You can wash the floor to remove any contaminants but you must do this two to three days in advance and ensure the floor is completely dry before starting.
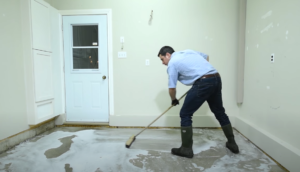
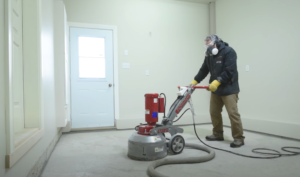
- Sand, grind or shot blast your floor to get the best impeccable finish and durability. Use a concrete grinder with diamond heads that you can obtain at your local equipment rental business.
- It’s important to repair cracks in the floor with epoxy crack filler during preparation.
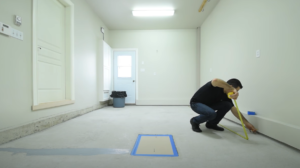
- Protect nearby surfaces and tape off any lines or transitions. Adjust your spike shoes and have a garbage bin near by. Calculate your square footage areas to ensure the right coverage and prevent waste.
- You should wear gloves, long sleeves, safety glasses and a mask.
MIXING
- Add your colourant to the epoxy resin A component. Stir well to make sure you get a uniform colour, 2-3 minutes, before you add any hardener. If the product you purchase is pre-tinted, still stir for 2-3 minutes as the pigment can settle during storage.
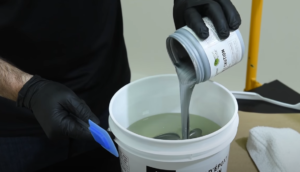
- It’s very important to mix well together Part A and Part B or the product won’t cure. The best way is using a drill with a paint mixer at a low speed for 3 – 4 minutes. This will avoid air entrapment.
- While mixing make sure to scrape the sides and bottom to get a uniform mixture. For an even better and more thorough mix pour the product into a separate clean empty pail and mix again for 1-2 minutes.
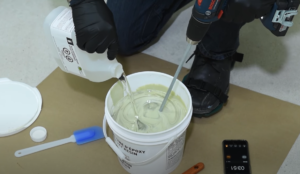
- It’s important to know that epoxy generates heat. The more epoxy in the container the hotter it will get. Once it’s mixed be sure to pour it on the floor so that it does not overheat. You will have roughly 40 minutes to then apply it.
APPLICATION
- Remember for the whole application process you must wear your spiked shoes. The first thing to do is pour the epoxy in a bead close to the walls. With a brush cut in towards the edges.
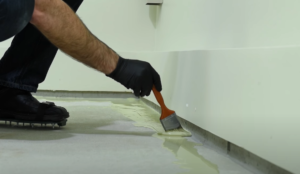
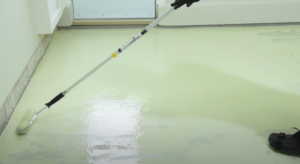
- Pour the remaining epoxy in beads on the floor and spread it out using a notched squeegee and a roller. Proceed to cover your entire space in the same way.
- Within 20 minutes broadcast the decorative chip flakes by throwing them up in the air and letting them land on their own to get a uniform distribution.
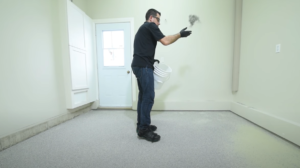
- You can use a blower to disperse any flake accumulation to ensure full coverage.
- The next day, remove the excess flakes that have not adhered. To do this use a floor scraper to break off the high spots and sharp edges. Then use a broom plus a vacuum to remove any remaining loose material.
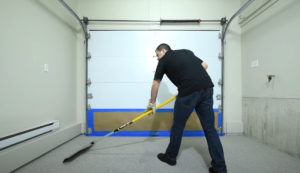
- Then apply a coat of clear epoxy at a rate of 100 square feet per gallon. This rate will get you a lightly textured floor. If you wish to have a smoother finish apply a second coat 24 hours later.
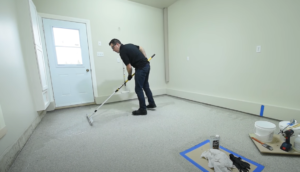
*NOTE: The cure times for epoxy, are 24 hours between coats and complete cure and chemical resistance after 5 days. You should wait approximately 12 hours before light foot traffic and a minimum of 48 hours before any vehicle traffic.
